Derwati -Responsive Portfolio Theme
- created: 07/25/2018
- latest update: 07/25/2018
- by: ridianur
- themeforest.net/user/ridianur/portfolio
Thank you for purchasing my theme. If you have any questions that are beyond the scope of this help file, please feel free to email via my user page contact form here . Thank you!
Disclaimer
I do offer support for my customers but i only provide support for my themes and their core features and functionality not customization works. I cannot guarantee my themes will function with all third party components, plugins, web browsers, and server environments. If you plan on adding numerous plugins to this theme, please note I can not fascilitate support of any conflicts they might cause with the default Derwati Theme functionality. The Derwati Theme is presented as is.
You can see the support item policy from themeforest in here
Installation
This Theme comes with many custom options which can be activated at your wordpress admin panel(theme option). You can either choose to upload the theme to your server via ftp (only upload the unzipped folder "derwati" into the folder wp-content/themes/) or via wordpress upload function. While using WordPress admin panel uploading option, make sure to upload only "derwati.zip" file (Note: Don't upload the whole archive file that you received by themeforest).
Notice: if you are new to wordpress and having problem in installation, you might want to check out this link: http://codex.wordpress.org/Installing_WordPress
Once done, you can activate the theme as usual
at Appearance->Themes->"Derwati".
Dont forget to install and activate all required plugins for this themes.
All the customization/modification for the old theme will be deleted. If you have create customization/modification try to use the child theme provided "derwati-child.zip" file. Make sure to install the child theme after you installed the parent theme (Derwati Theme).
Importing Demo Data
Manual Import
You can import the sample data that i provided in documentation folder. Its file with xml extensions. Go to Tool->Import and choose Wordpress and install importer plugin for it. After that click Activate Plugin & Run Importer and upload the sample data for it.
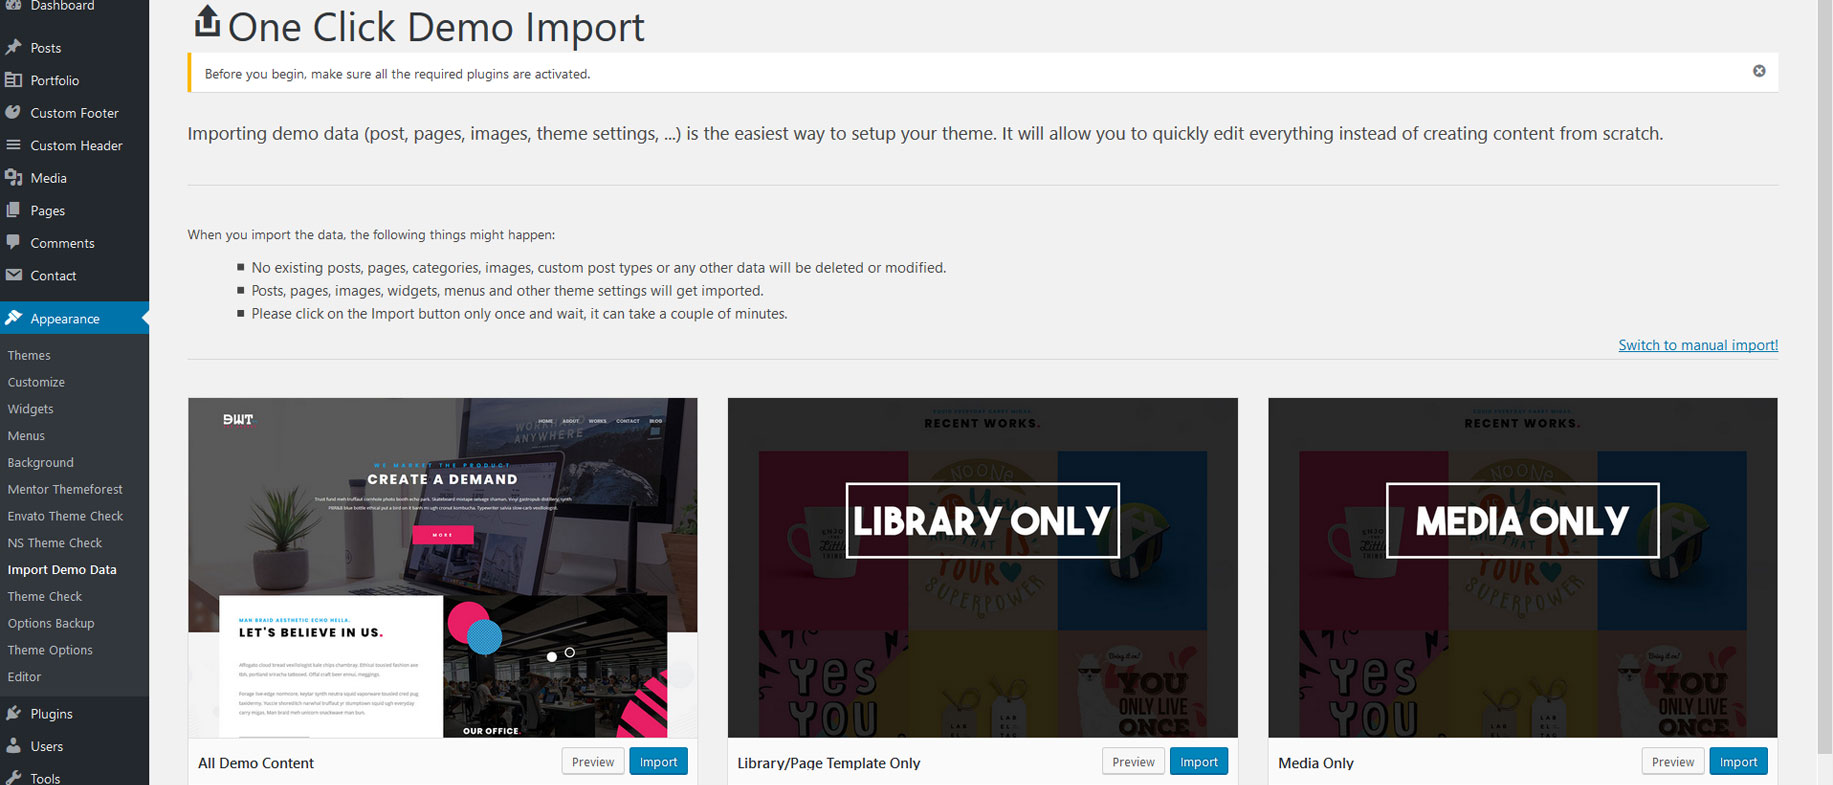
One Click Demo Import
First make sure you have installed all the required plugins. After that go to ->Appearance->Import Demo Data. And then click Import Demo Data button.
This will takes a while to importing all the data.
See the video here about using this one click demo import
Setting Homepage And Blog
Start Here
For Homepage
- Create new page(Pages->Add New), add Homepage title in it, and after you set the page content save it.
- Go to Setting->Reading choose Front page displays A static page. And in the front page select Homepage (or any page you want to be front page) and save it.
For Blog/News
- Create new page(Pages->Add New), set the title eg:Blog in page attribute(right bottom) choose Blog Sidebar template
- And you can connect this page to the menu.
And you're done. Now you can set the theme options
Theme Options
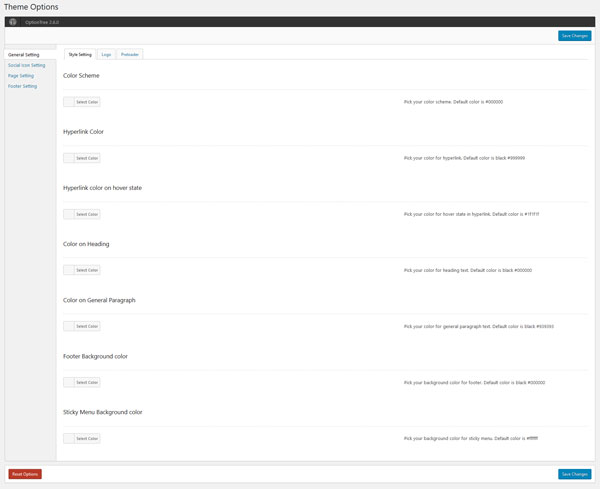
Go to Appearance->Theme Options and you will see some options list here.
- General Setting This section contain options to set the styles,logo and preloader
- Social Icon Setting This section contain options to set the social icon in (standard) header and footer.
- Page Setting This section is contain options to set the text in portfolio section/single page & blog page.
- Header Setting. This section contain options to set the header for global and the color for sticky menu.
- Footer Setting. This section contain options to set the footer global,text and footer social icon
Most of theme options have explanation inside of it
Importing/Exporting Theme Options Setting
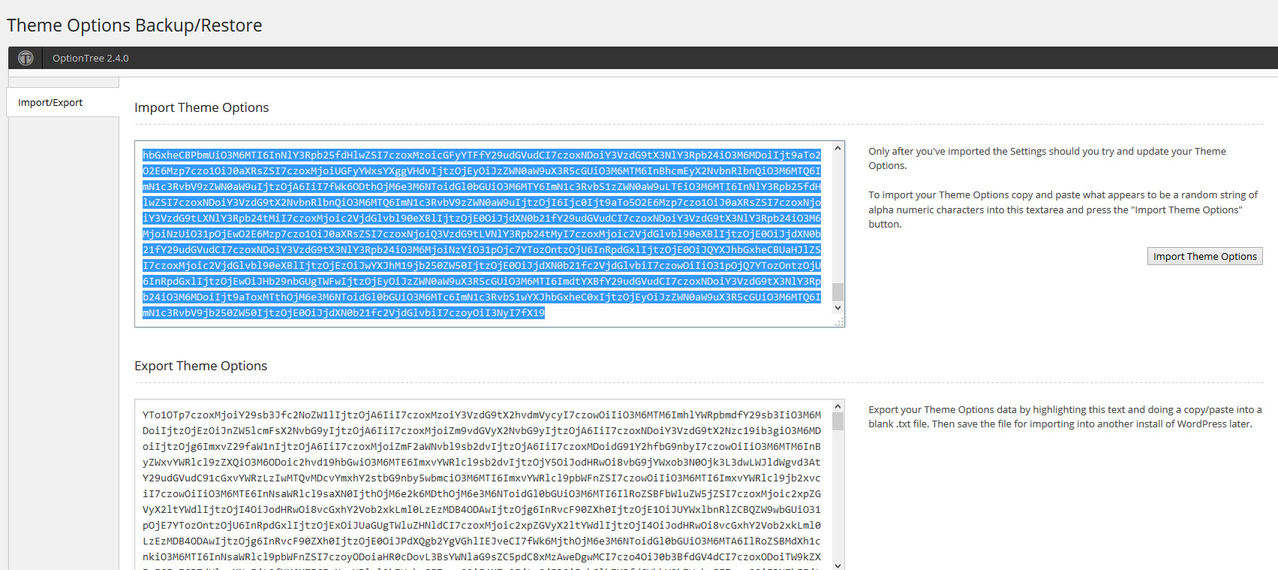
You can import/exporting the theme options settings. Go to Appearance->Options Backup
If you want to export, copy the text below Export Theme Options and save it in some file eg. options.txt.
If you want to import, copy the text inside the options.txt file, and paste it to the field below Import Theme Options and hit Import Theme Options button.
Creating Post Content
Most of sections on this theme is created from custom post type & page builder. Make sure you have installed Derwati WordPress Theme Plugin Bundle to make the custom post type for each section. You can automatically install it after you finish upload and set the theme into derwati theme. You can find this plugin inside documentation folder(if you're not installed it automatically).
You can choose your post format for some custom post(video/slider/audio/gallery slider) in post metabox(below the wordpress editor).
Here are the list of custom post type for the sections:
- Portfolio. This is posts for works section.
Creating Portfolio
You can create this section in "Portfolio ->Add new Portfolio"
Featured image will appear in the homepage template, make sure you never leave it blank.
You can choose the porfolio format. Here is the list:
- Portfolio Gallery at Top. This will show portfolio with gallery at the top of the content.
- Portfoloi Gallery at Right. This will show portfolio with gallery at the right of the content.
- Custom Layout Portfolio. Make sure you have selected the template to be "Blank Page Builder" so you can create your own portfolio layout using the page builder. And dont forget to checklist the settings for Elementor ->Settings->General->Post Types->Portfolio.
For the portfolio filter, its based on portfolio category, so make sure you have category for any portfolio post. And please avoid using any special character.
You can view this video about how to create the portfolio
Page Builder
This theme is powered by Elementor. So you can easily creating page with page builder powered by this plugin.
You can visit this page for more detail explanation for using this page builder plugin.
You can use the Derwati Elements to create the new page layout that you like.
Or you can use the page template that already included in this theme to save time or for reference.
But make sure you have imported the All Demo Content in Once Click Demo Import or if you only want to use the page template only, you can only import the Media Only & Library Only.
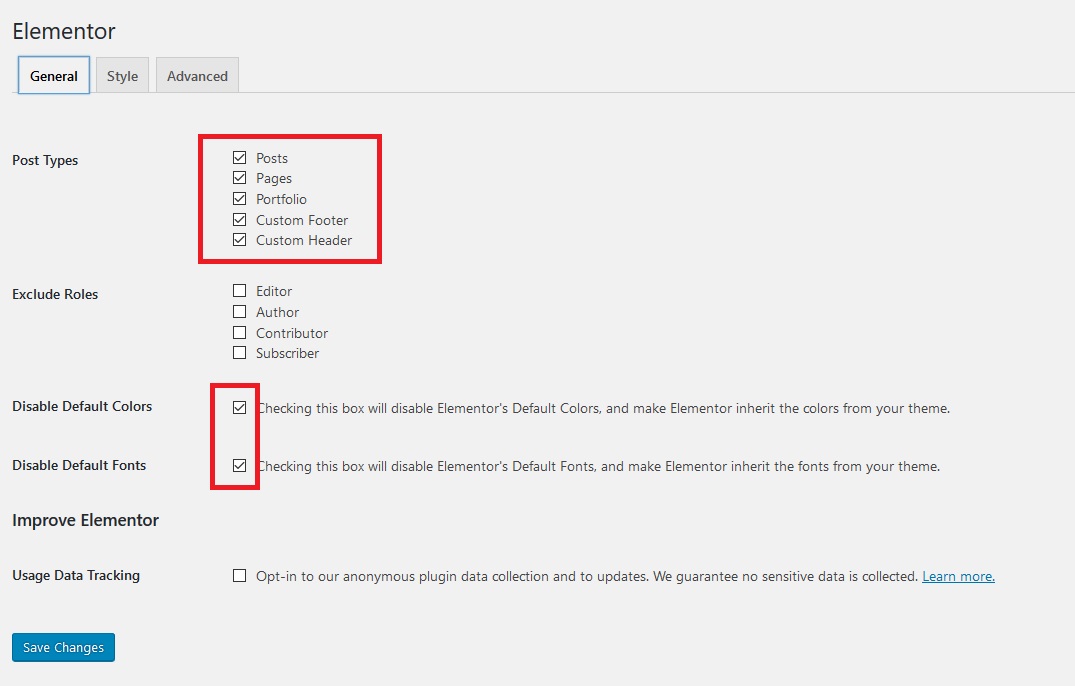
Page Builder Settings
The settings in Elementor->Settings (tab)
Make sure you checklist all the post types, so you can use page builder in those post type posts.
You need to checklist the Disable Default Colors and Disable Default Fonts too.
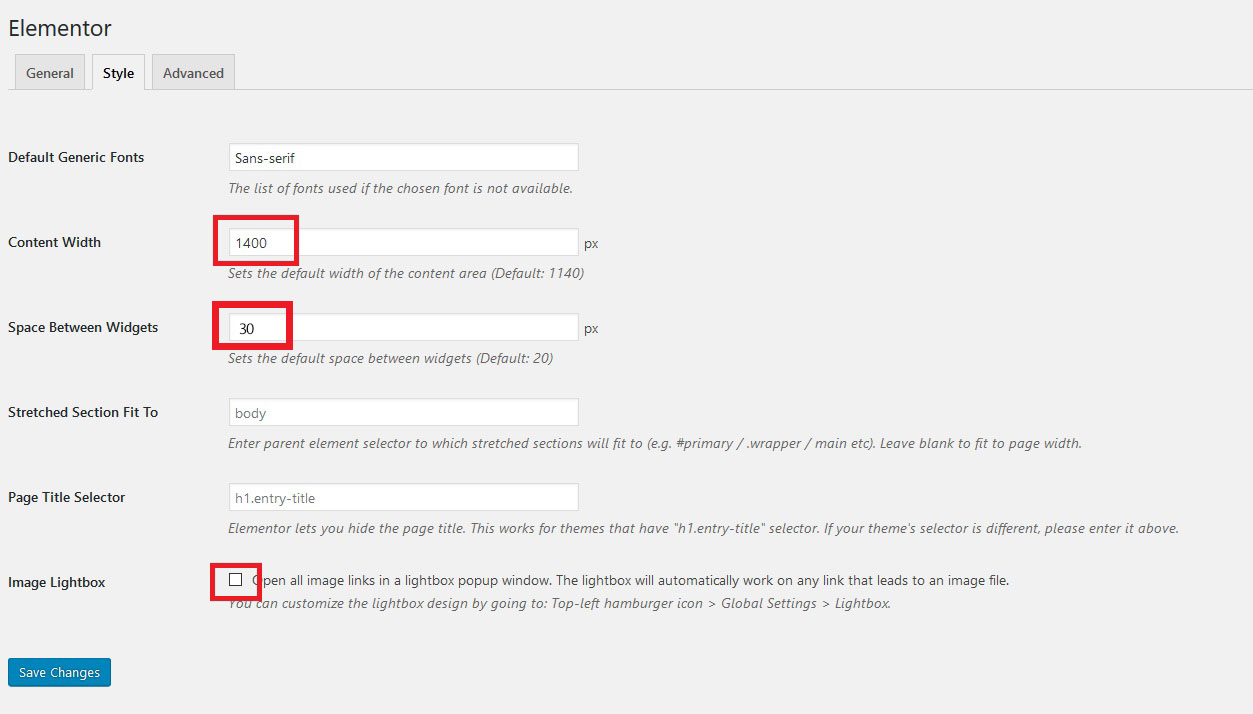
The settings in Elementor->Style(tab)
Input 1400 in "Content Width"
Unchecklist "Image Lightbox" to prevent error in theme lightbox.
Creating Video Background
The first step is to click on the 'Add section' button and add a section, no matter how many columns. Drag a widget inside, let's say the text widget.
Click on the section. The left panel should now show the three Elementor tabs. Go to Style, and under Background choose the Background Video icon.
After that, insert the video in video link(eg. youtube video link).
You can set the background overlay too, if you want the video to be darker/lighter.
Please note: For video background(mp4) it need load video first so it will shown in the page after that. And sometime it get a little buggy in editor, so you better see the original page than see it in editor.
You can see this video for more detail about adding video background
Using Page Builder Template/Library
When you creating a new page using the page builder, you need to click the "Add Template" button.
After that choose My Template Tab ->and insert any page that you want to use.
But make sure you have imported the All Demo Content in Once Click Demo Import or if you only want to use the page template only, you can only import the Media Only & Library Only.
Note:
Always choose "No" when after you click the insert button and "Import Document Settings" appear to prevent any error on layout.
You can see this video for more detail about using the page template/library
Derwati Page Template
There is 3 Template in this theme. Here is the list of it
- Default Template
- Blank Page Builder
- Page wide
For page builder, always use the Blank Builder template for that.
Translation
You can edit the pot files inside lang folder into your own languange using tools like Poedit
You can see detailed documentation about translation this theme into your languange in wordpress documentation here and here
Images Size In Demo Site
You can see the image size i used in theme options by importing the demo data.
But if you havent try that, this is the list of it:
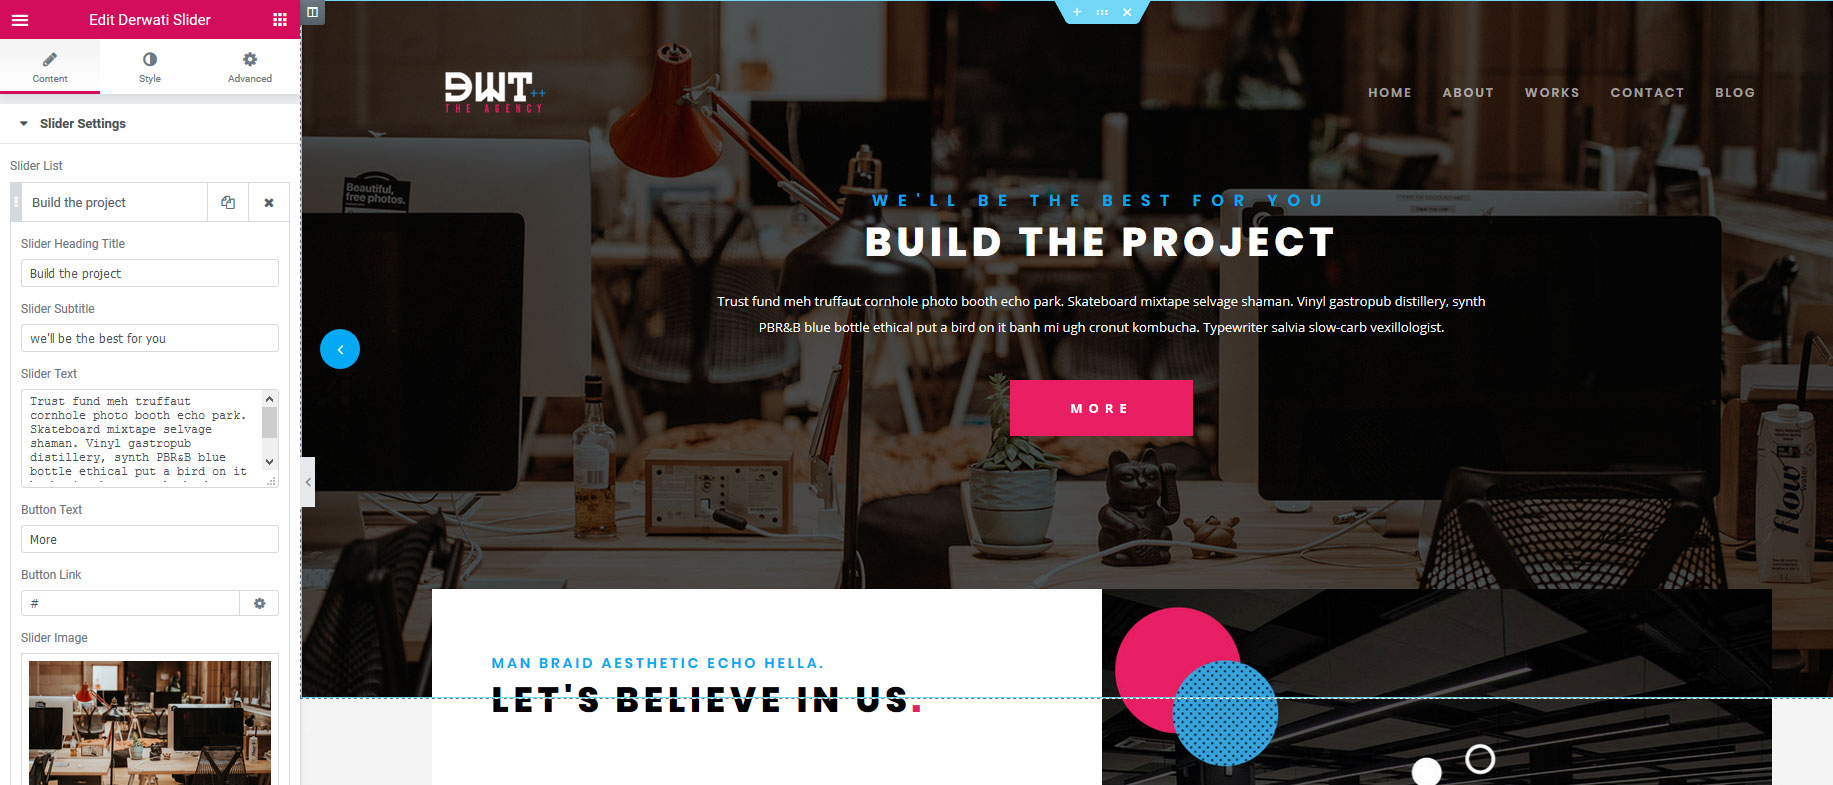
For Slider/Image Background
1658 × 1100px
For Team Posts
800x1164
For Client Image
250x100px
For Portfolio/Gallery Thumbnail
800x582px
For Background image that this theme use for some section(gray section), you can find it in here.
Plugins
There is few plugin used in this theme.
- Derwati WordPress Theme Plugin Bundle This plugin is used for creating custom post type & Page builder Element & Block.
- Elementor This plugin is used for creating Page builder. You can see the docs here
- One Click Demo ImportThis plugin is used for importing the demo data.
- OptionTree This plugin is use to show the theme options and metabox.
- Contact Form 7 This plugin is used to display contact form for your page. To set this, choose contact menu in admin menu. And input your information for it. You can see the docs here This is the code that i create for my demo:
    [text* your-name placeholder "Your Name..." ]

    [email* your-email placeholder "Your Email..."]

    [textarea your-message placeholder "Your Message"]

    [submit "Send Message"]
After all set, you can copy the shortcode from it and insert it into the Derwati Contact Form Shortcode Element. eg: [contact-form-7 id="352" title="Contact form 1"]
But please make sure you have the correct settings for those contact form. See the contact form 7 documentation for more detail about settings the correct contact form.
Recomended Plugin
If you want to add your own font using google font (for the font that cant be touch by page builder), you can try to use this plugin Easy Google Fonts
How to Update the Theme
How to update This Wordpress Themes
1. Login into your Themeforest account and go to downloads (Dashboad > downloads)
2. Download the theme into your computer
3. Install an FTP program (Filezilla is free)
4. Retrieve your FTP login information from your hosting admin panel and login into your hosting via FTP
5. unzip the item main file
6. Locate theme.zip (eg : derwati.zip) and unzip it. make sure your unzipping software do not create extra directory with the same name nested into each other. In other words you should find the theme files once you click the theme main folder. Otherwise your themewill not function correctly and you will see your theme is un-styled.
7. drag and drop theme main folder into your FTP program with the destination : “YOUR_HOSTING_ROOT/YOUR_SUBDIRECTORY/wp-content/themes/”
8. FTP program will give a warning that there is an existing with the same directory name, choose replace all.
8. it will take varying from 15 to 30 minutes to replace all files. After you're done with it, try to update the "Derwati WordPress Theme Plugin Bundle". Firstly, deactivate and delete the older Derwati WordPress Theme Plugin Bundle . And there will notice "This theme requires the following plugin: Derwati WordPress Theme Plugin Bundle." Click "Begin installing plugin and then activate it again. Or you can manually upload the plugin from"Add New Plugin". The plugin zip files is inside documentation folder. And you're done.
Credit
This theme is using the following images, icons or other files as listed.
- Image in Demo Page from Unsplash
- Image in Demo Page from Freepik
- Fonts Fontawesome
- Google Fonts Poppins
Once again, thank you so much for purchasing this template. As I said at the beginning, I'd be glad to help, if you have any questions relating to this theme. No guarantees, but I'll do my best to assist. If you have a more general question relating to the theme on ThemeForest, you might consider visiting the forums and asking your question in the "Item Discussion" section and contact me via my profile here.